
Okay. The parallel circuit. The switches must be on the same row as the LED. The LED cathode is ground, and the ground is on the same row as the parallel circuit and the resistor. The resistor is connected to the switch, which is connected to the front foot of the 2nd switch, the back foot of which is connected to the LED anode:
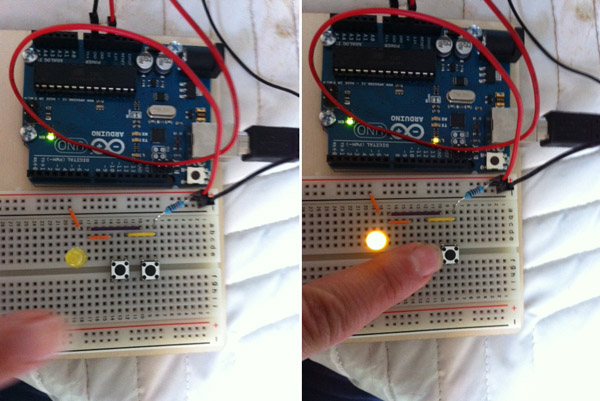
I’ll try to make a second pair of parallel circuits…. nothing out of the ordinary (just don’t forget the 2nd ground)….
Project 2: Spaceship Interface. AKA making LEDs blink and change states when controlling an input sensor.
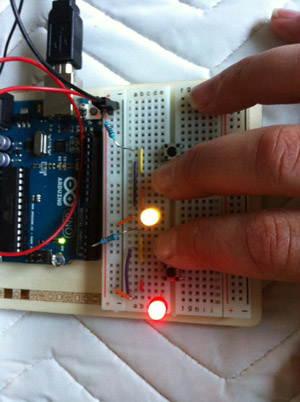
Instead of being instructed to download the code, or merely open it from the available sketches that come with the application, this starter kit book of projects walks the user through writing the code itself. Guard against inserting extra spaces, or using a – instead of a =. Since this wordpress site won’t permit video, click here to see the results. I inserted a standing HIGH delay for one of the red LEDs as well.
Up at the CAO I did Project 3, love-o-meter, but no pics. I had to tweak the temp baseline in the code, and used the pre-made code because I didn’t have enough time to correct my hand typed code before the sun went down and it was time to go outside to look up. That’s the next post… [will do Project 3 again more slowly].
Blake spent some time on Saturday movie night (007 Skyfall) to play with the Arduino himself: CAO Astro Arduino Rainy Day Crafting Group. Yup.
In any event, my SSHRC grant received 4A status (recommended but not funded), so I’m glad I’m self-learning Arduino as a start, and still hopeful the CCA grant will come through so that I can hire Rob and John to help, and be able to pay for my Video Pool residency next year.